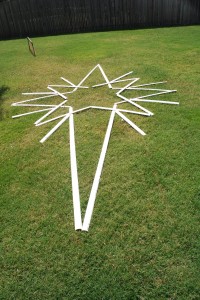
This star was built last year but I have finally remembered to post some of the details of the construction with pictures. This will be a trimmed down version of a “how-to” so if it seems like I skipped a step you are probably right.
Supplies
- 4″ PVC
- 2×4 lumber
- Circular Saw
- 3″ bolts and corresponding nuts
- Clamps
Instructions
- Butt two pieces of lumber length-wise to each other and screw them together
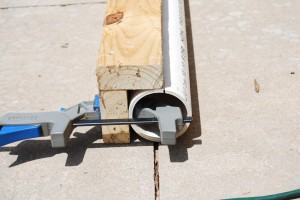
- Lay the PVC pipe in the V for the lumber
- Clamp the PVC to the lumber jig
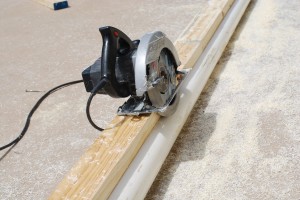
- Position the saw to run along the length of the lumber (start at the end, the picture is just an example)
- After you have finished one full cut, rotate the PVC for the next cut. I cut the PVC into four slices but you may only want three so rotate appropriately.
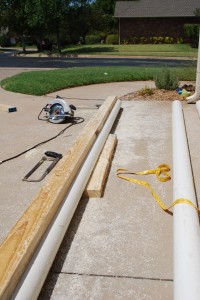
- Once I had removed an entire strip I added a support to the middle of the run so the pipe would not sag
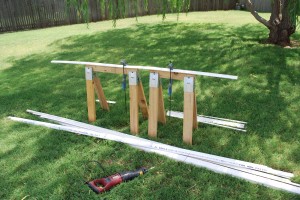
- After all the pieces were cut I had to chop them down to size. The measurements will vary depending on your size and layout.
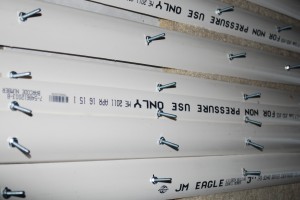
- Also while clammed decide on your bulb placement and drill holes for the bolts and drill a hole on each end to zip tie each piece together for final placement.
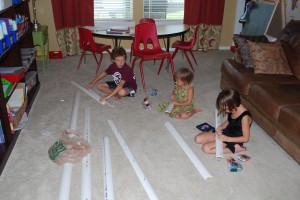
- I laid out my design in the yard as I went and labeled each piece
- Now put each bolt through the hole and screw it in. Little hands work great for this
- I don’t have any pictures but then zip tie each bulb to each screw. I used cut to length C9 cord and put a blue and a white string on each screw
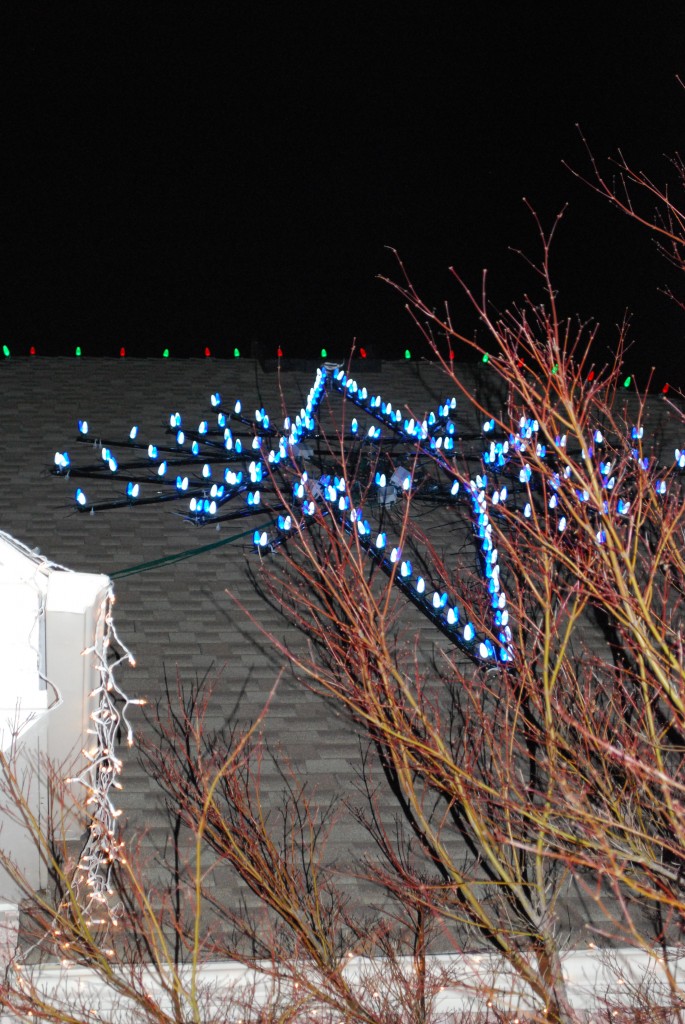
- I also used spray paint and colored them black to have them blend in better on the roof
This isn’t the best picture but it give you an idea of the final product. When you step back from the house it looks really good.
