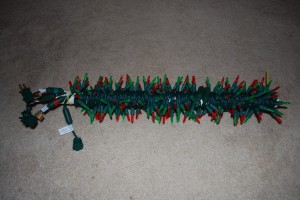
After reading everyone elses version of how to make a Christmas light arch I combined what I thought was the best of all of them. One large factor for me was the need to replace strands quickly if neccesary, and be able to make modifications during the Christmas season easily. I decided to take a modular approach for each section and use a support structure that could easily be changed.
Supplies Per Arch
- 20 foot 3/4″ piece of PVC, sch 40 1120 (this is very important it is the thinner grade material or the light section won’t slide over it)
- (2) 10 foot 1″ pieces of PVC sch 40
- 33 feet strands of lights, one strand per color
- (2) bolt and matching nut longer than 1 1/2 inches
- (2) 2 foot long rebar
- electrical tape
- zip cord
Instructions
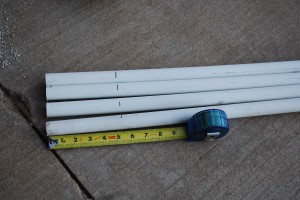
- Cut the 1″ PVC pieces into (8) 2 foot sections
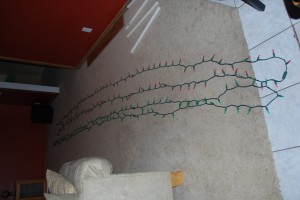
- Unwrap each strand of lights and lay it out flat
- Loop the strands in half
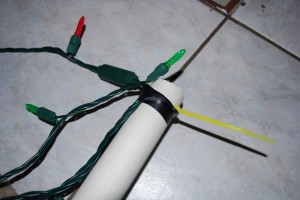
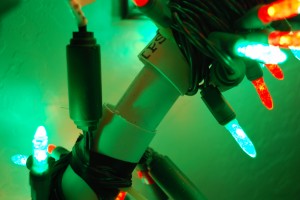
- Through the loop just created attach the lights at one end of the PVC sections that were cut in step one. Next use a zip cord to attach the lights to the PVC and wrap the zip cord with electrical tape. �
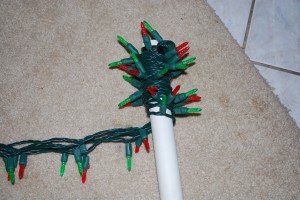
- Tightly wrap the light strands around the PVC making sure to keep the bulbs pointing out from the center.
- Continue to wrap until you reach the end of the section. It may take some trial and error to be able to finish right at the end.
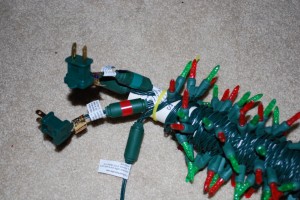
- Take all four ends of the light strands and use zip cord and electrical tape to secure the strand to the pipe, just like step four (My picture is missing the electrical tape).
- Repeat steps 2-8 for all eight sections.
- Trim the 3/4″ PVC down to 17 feet.
- Measure 5 inches from each end of the 17 foot section and mark it off
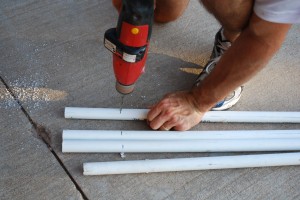
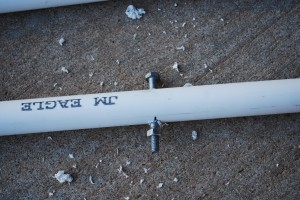
- Drill a hole straight through the PVC at each mark, large enough for your bolt to slide through
- Secure one end with the nut and bolt
- Slide each section of the wrapped lights onto the 17 foot section
- Insert the other nut and bolt to hold the light sections in place
- Take the rebar and measure 10 feet apart and hammer it into the ground at a 75 degree angle
- Slip the PVC over the rebar and secure the arch
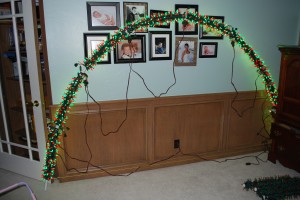
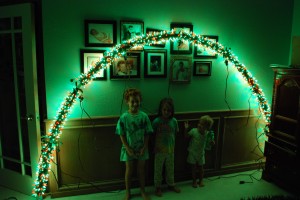
- Plug into your selected controller and light it up (These pictures were my inside tests)
